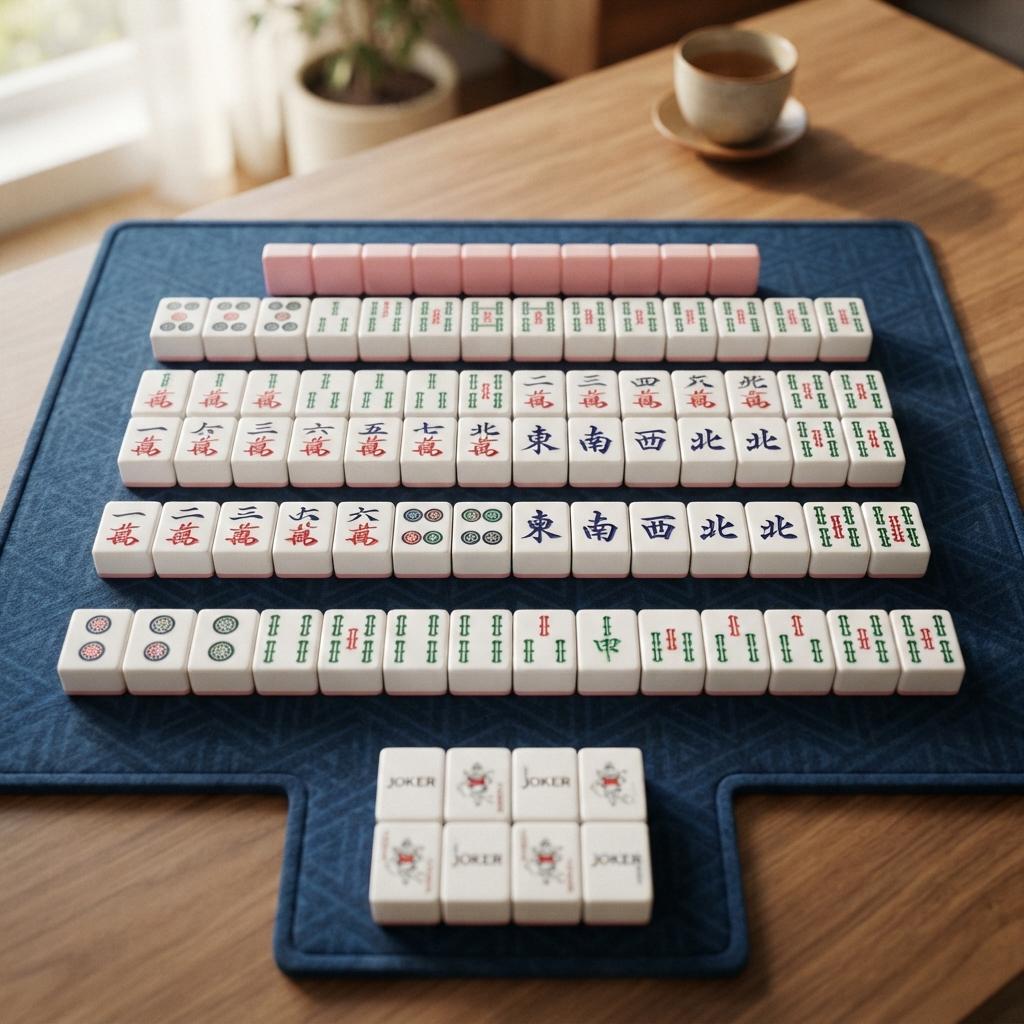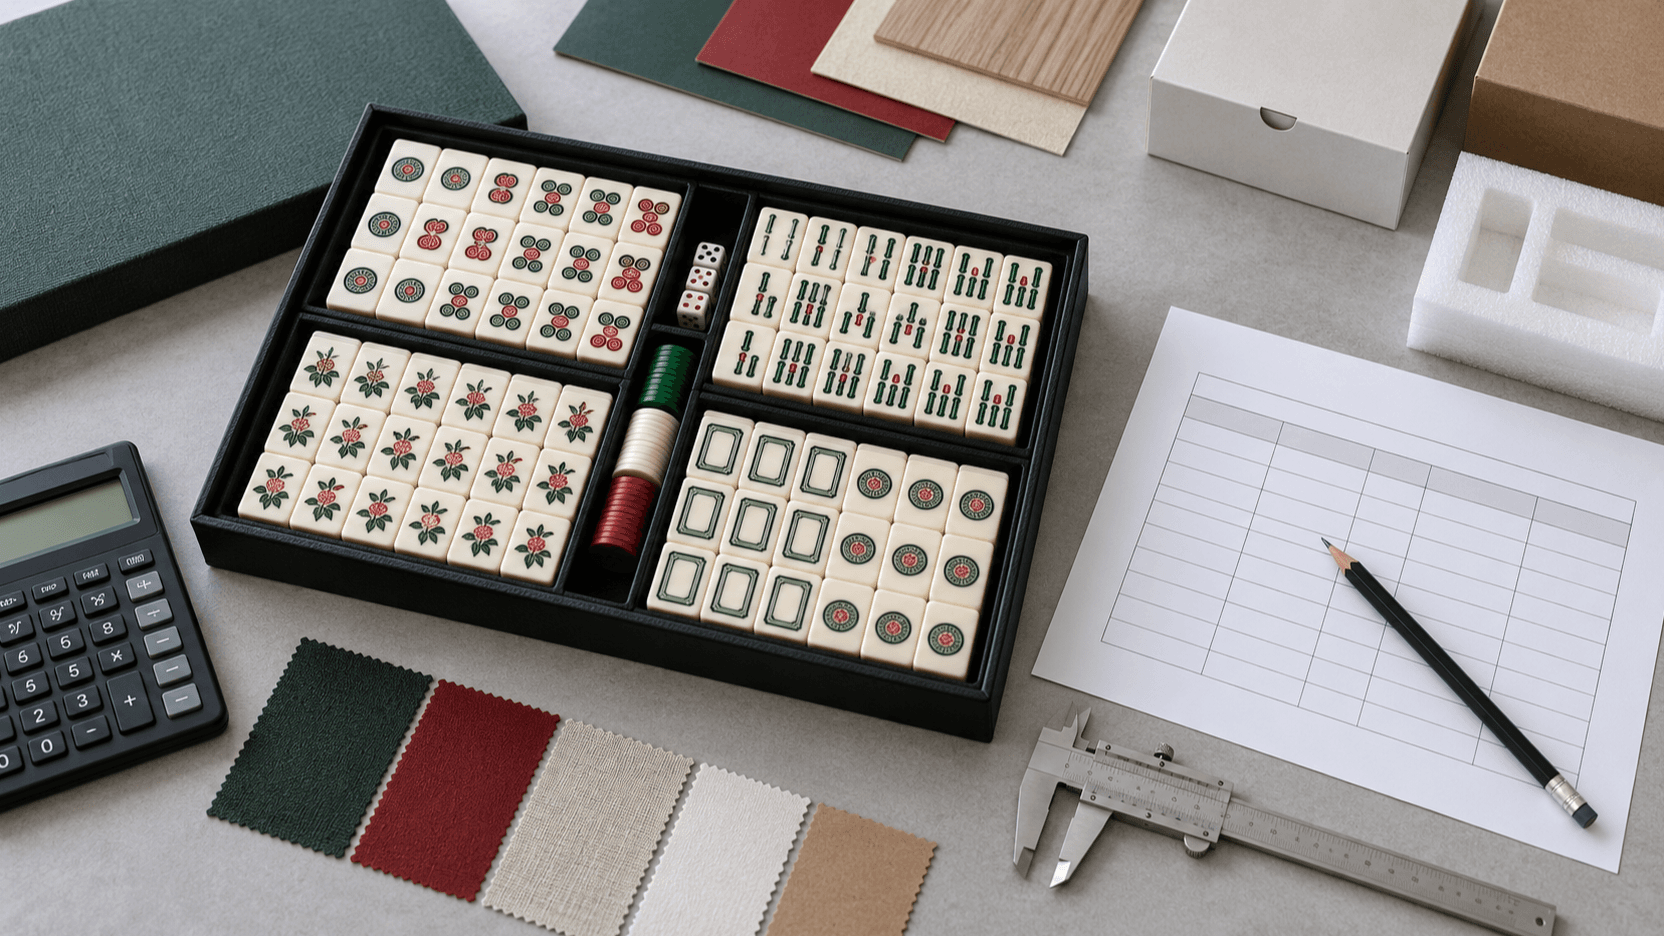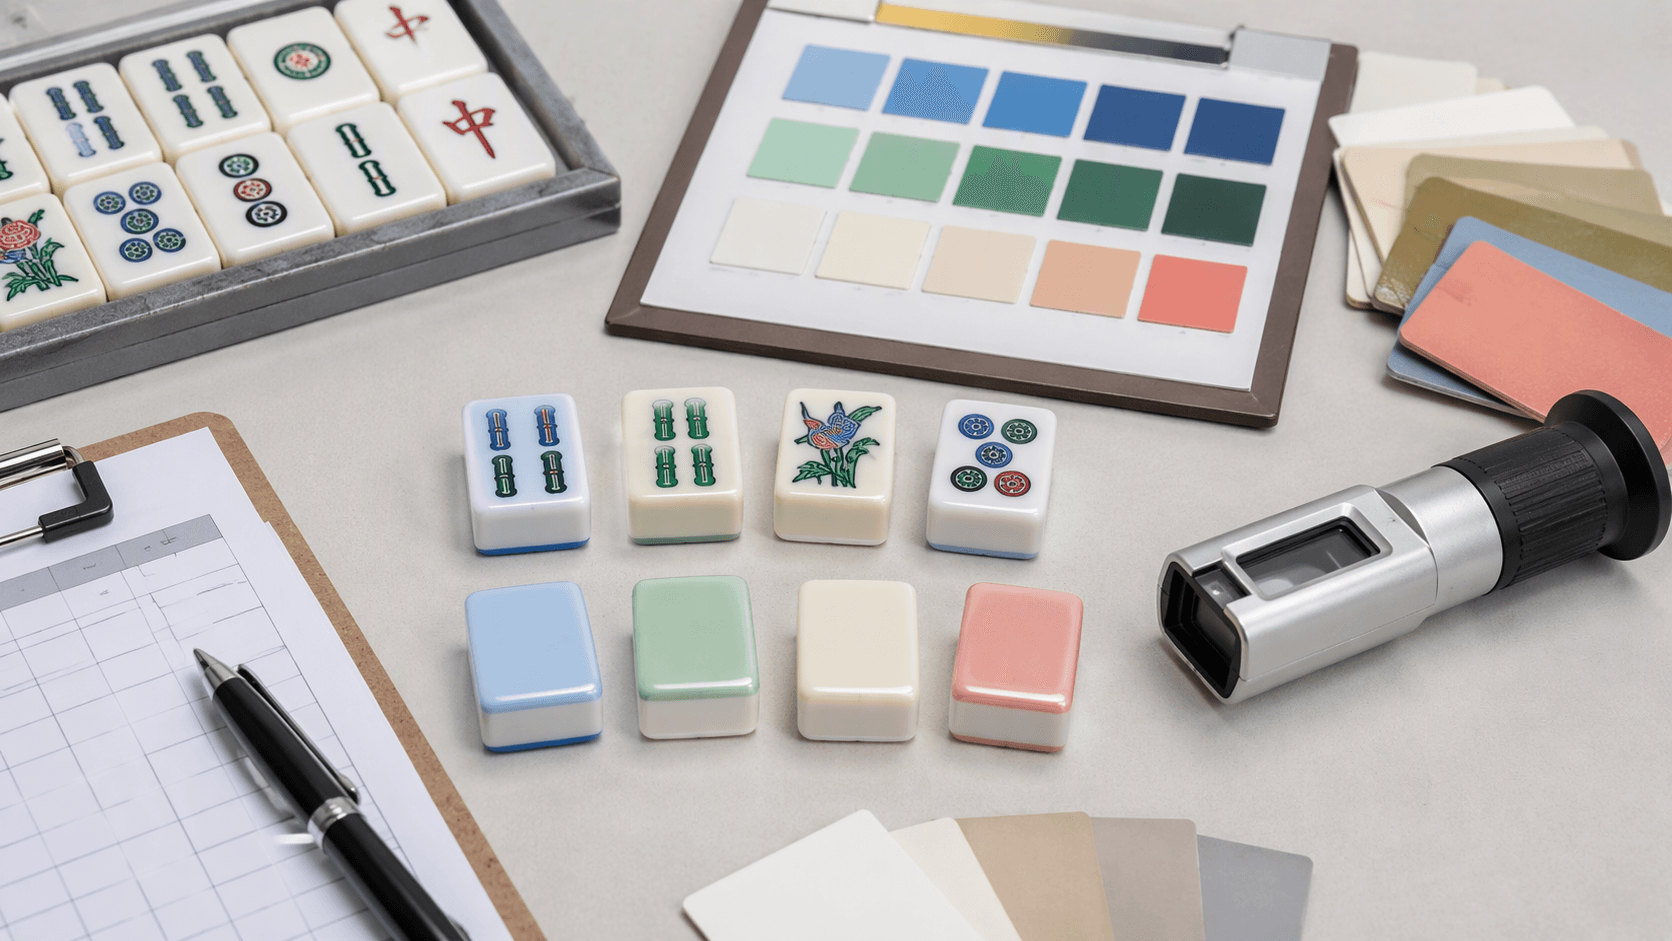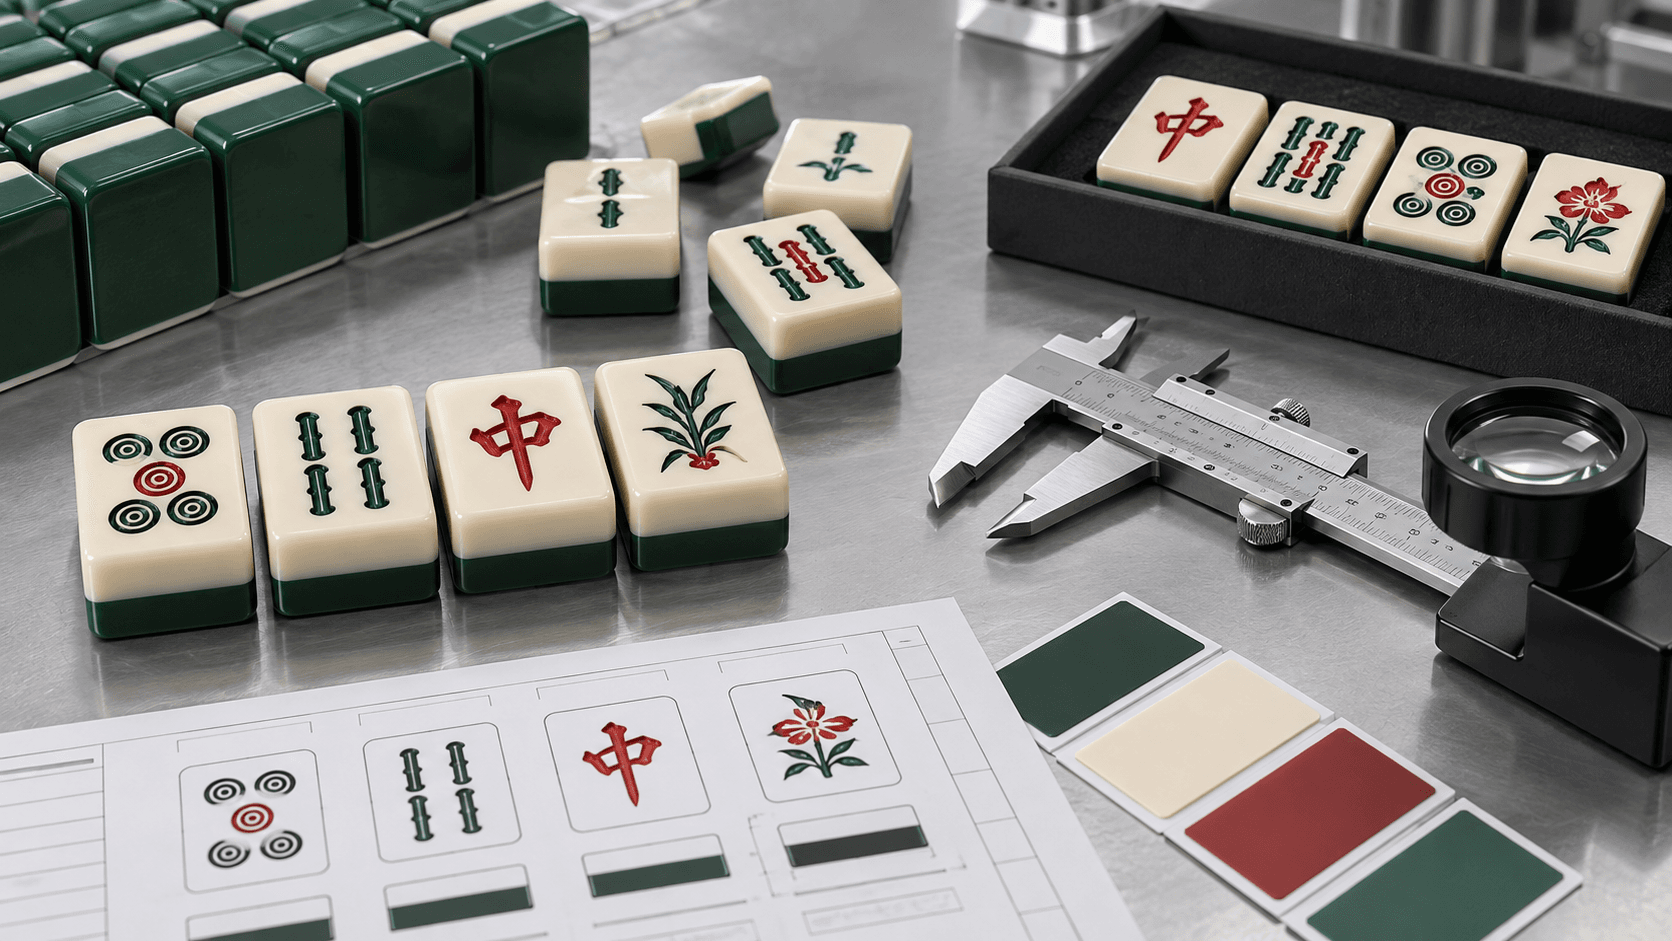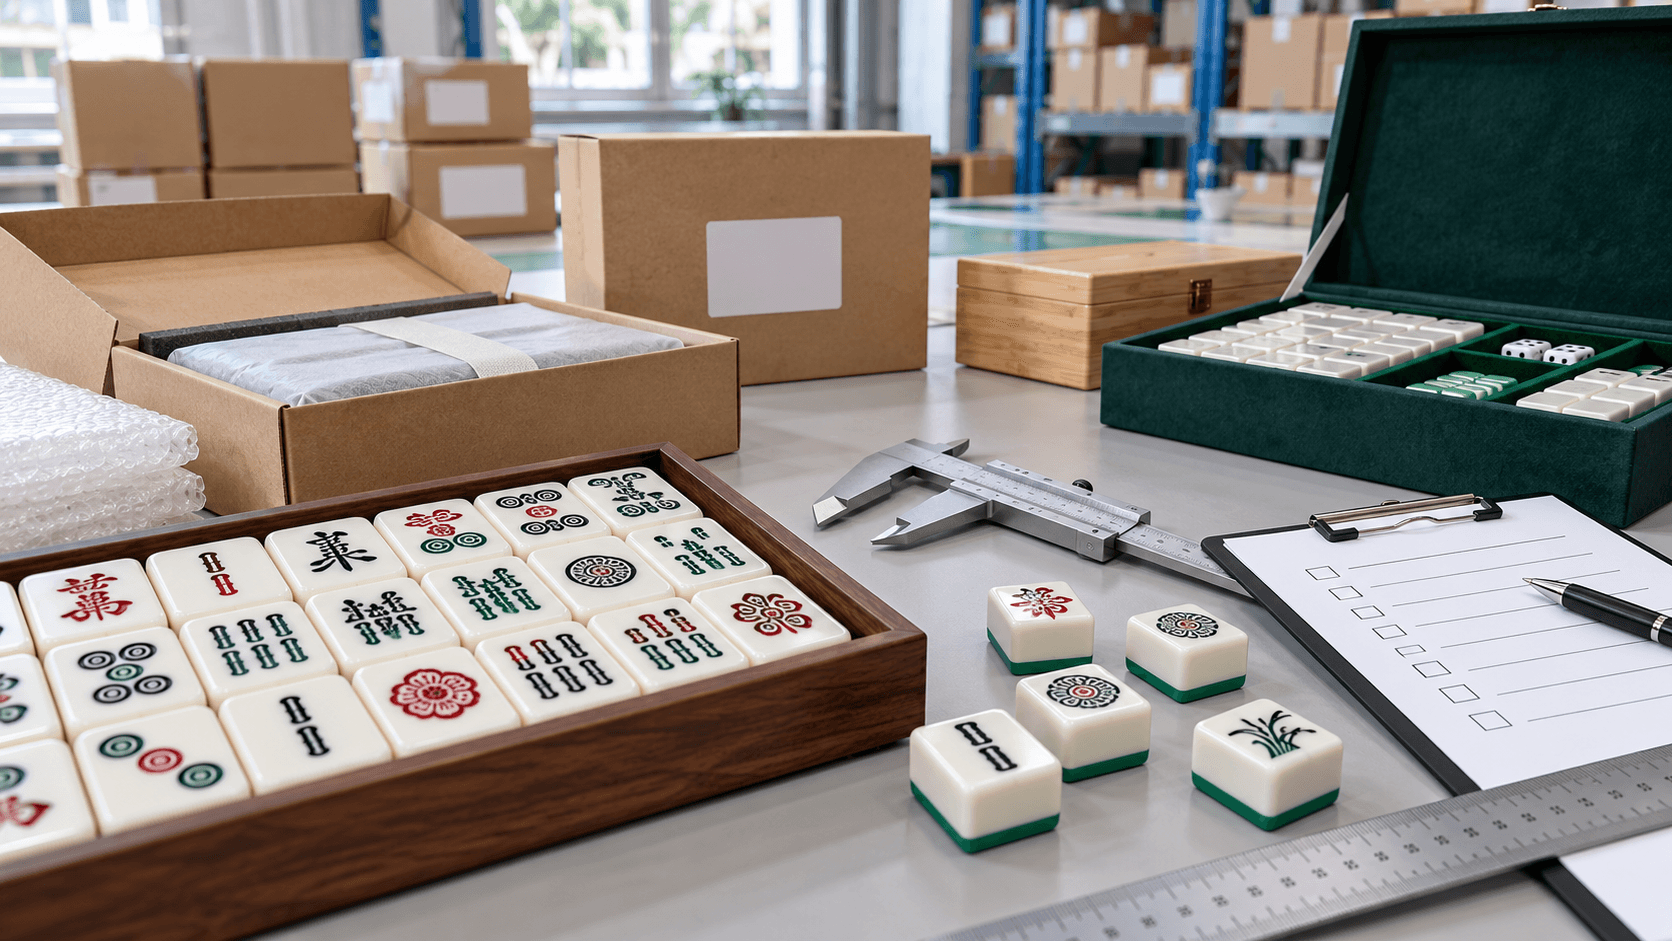
Mahjong engraving quality requirements should describe the finished mark, not just the machine or file format. A buyer needs to know whether the recess is complete, the edges are clean, the fill is controlled, and the symbol remains readable when the tile is held, shuffled, cleaned, and compared with its approved sample.
That means a good inspection plan separates four questions: is the mark in the right place, is its shape and depth consistent, is the fill inside the intended recess, and can the user distinguish the face quickly? A photograph of one attractive tile cannot answer all four. Release evidence should use representative faces, a physical control sample, defined lighting, and a record that links each finding to an artwork revision.
Define the finished mark before choosing the process
Start with the visual and functional result. State which faces are engraved, whether the mark is recessed or surface-treated, whether the recess is filled, which colorways use the same artwork, and how the finished tile will be handled. A small numeral, a dense character, a broad decorative field, and a back logo each create different inspection risks.
Write the release file so a supplier, inspector, and buyer can point to the same reference. Include the tile construction, face schedule, orientation, artwork revision, position, safe area, finish, fill treatment, and any customer-specific requirements. If a dimension or appearance limit matters, put it in the specification or approved physical sample instead of leaving it inside a chat message.
| Control item | Question to answer | Evidence to retain |
|---|---|---|
| Artwork identity | Is the correct face, revision, orientation, and repeat quantity being used? | Released face schedule, artwork file, and revision approval |
| Engraved geometry | Are line width, gap, corner, depth, and edge-clearance limits defined? | Actual-size proof, approved sample, and measurement method |
| Fill treatment | Is the recess filled or unfilled, and what appearance is acceptable? | Color reference, filled control sample, and defect examples |
| Use condition | What handling, cleaning, lighting, and viewing distance matter for acceptance? | Care note, viewing setup, and agreed use-case test |
| Lot decision | Which characteristics are sampled and which require full verification? | Inspection plan, defect classes, and signed disposition |
What mahjong engraving quality requirements must control
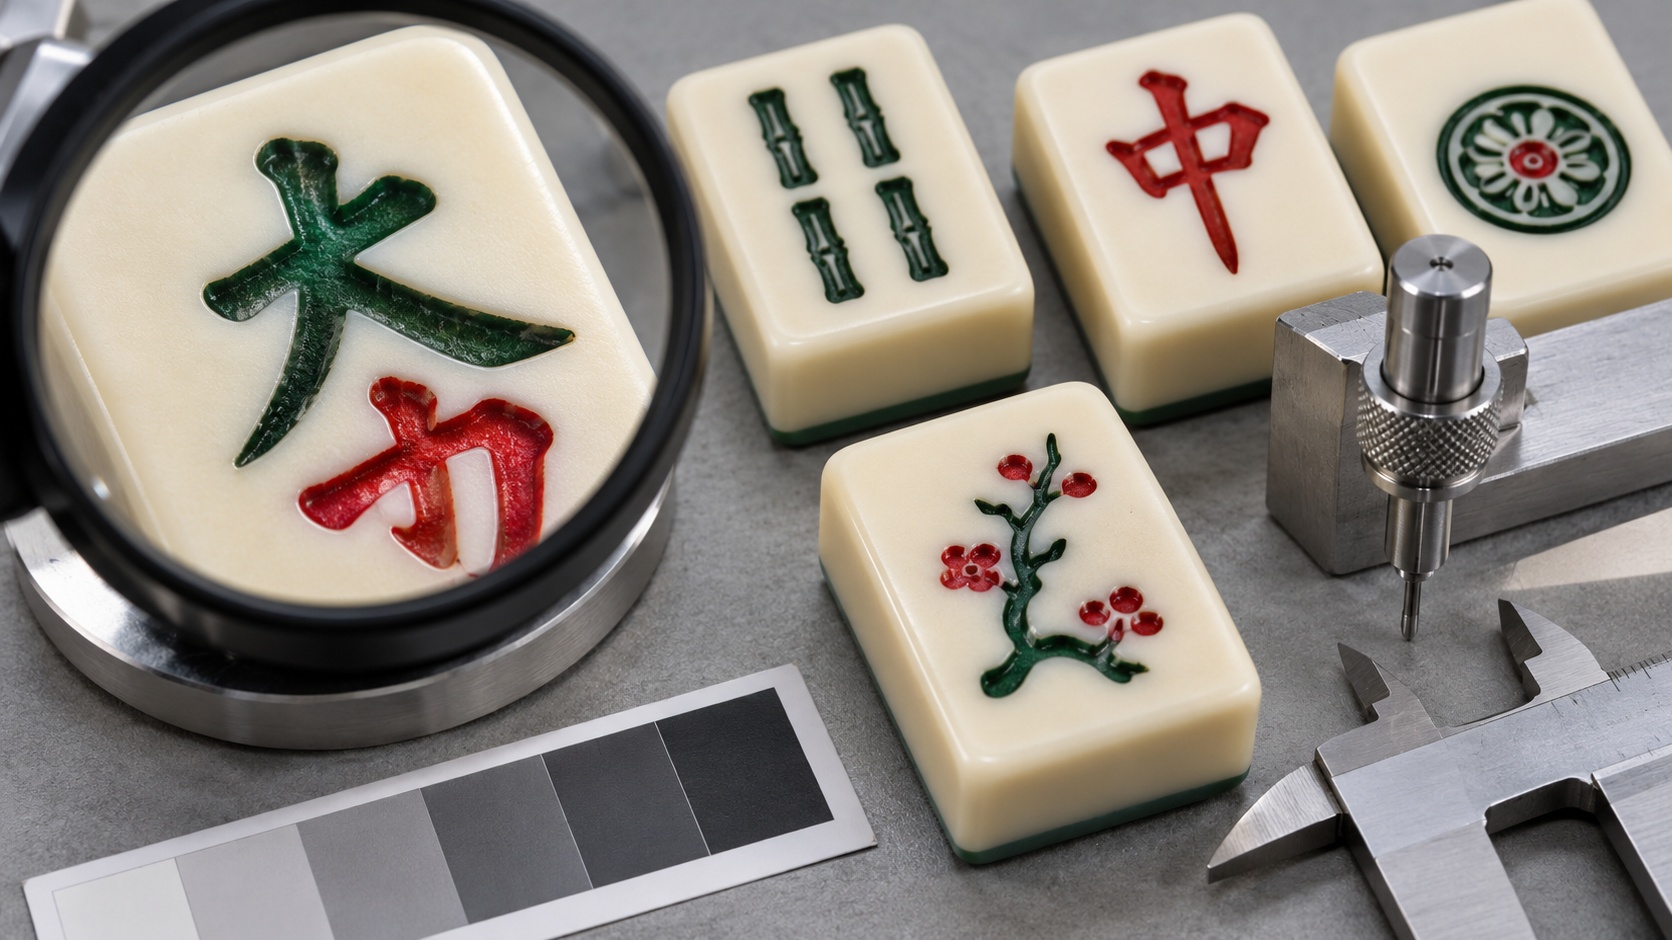
Inspect the mark in the same sequence every time. First confirm identity and placement. Next review geometry and depth. Then check surface condition and fill. Finish by checking legibility and repeated-face consistency. This order helps separate a wrong artwork revision from a process defect and keeps a cosmetic observation from hiding a functional failure.
Do not use a generic claim such as “deep enough” or “clean enough.” Describe what the inspector can see or measure: a missing segment, a merged gap, a broken corner, a fill overflow, a rough edge, an off-center mark, or a face that cannot be distinguished at the agreed viewing distance. The limit may be numeric, visual, or tied to a control sample, but it must be understandable to the person making the release decision.
Check depth without inventing a universal number
Engraving depth affects contrast, tactile feel, fill retention, cleaning, and the apparent sharpness of a line. A deeper recess is not automatically better. It can create a harsh edge, hold residue, weaken a narrow feature, or make adjacent marks look uneven. A shallow recess may be appropriate for one construction and unacceptable for another.
Define the intended result with the proposed tile material, surface finish, and fill process. If depth is controlled by a tool, machine, or process setting, the setting belongs in the production record, but it is not a substitute for inspecting the finished tile. Measure or compare at representative features such as narrow lines, broad filled areas, corners, and marks near the tile edge.
Use a calibrated or identified tool when a dimensional limit is required. Record the measurement point, orientation, sample ID, and result. If the approved rule is visual, keep a reference sample and a short description of acceptable and unacceptable examples. Never turn a single supplier sample into a hidden tolerance for the full lot.
Inspect edge definition, corners, and gaps
Edge quality is where many small artwork problems become visible. Look for feathered boundaries, melted-looking corners, burrs, chips, uneven recess walls, merged neighboring marks, and fill that changes the intended line shape. A mark can be technically present and still fail because its edge no longer communicates the approved symbol.
Review the most demanding geometry first. Choose the narrowest approved gap, the smallest mark, the tightest corner, the largest filled area, and the feature closest to an edge. These challenge faces are more useful than selecting only a simple, open symbol. They reveal whether the process has enough margin for the whole face schedule.
Check the tile after relevant finishing and cleaning steps. Dust or residue can make a recess look filled, while a freshly marked surface can conceal later abrasion. Compare several repeated faces side by side under the agreed light. A single close-up may hide variation between production positions.
Control color fill and overflow
A filled recess adds a second control problem. The buyer must approve the intended color, coverage, edge behavior, and contrast against the base tile. Inspect for voids, thin spots, bubbles, shade variation, overflow onto the surrounding face, and residue left outside the recess. The fill should support the mark without changing its shape.
Use the proposed substrate color and surface finish in the control sample. A fill that looks correct on a white prototype may read differently on a dark or translucent base. Review under consistent lighting and include both close viewing and normal playing distance. Do not approve color from a heavily edited photograph or from a screen whose settings are unknown.
When several tile colors are included in one project, decide whether one fill reference applies to all of them. If contrast, gloss, or material changes, treat the colorway as a separate approval point. Record which sample represents each production version and whether the same inspection rule remains valid.
Measure placement and orientation
A clear mark in the wrong place is still a failed mark. Define the reference edges, centerline, rotation, mirrored state, and safe area before production. Use a dimensioned overlay, a physical guide, or another method that allows the inspector to compare the finished tile with the approved design.
Check marks near rounded corners and side transitions carefully. A layout can look centered in a flat digital file while appearing visually high or low after the tile radius and finishing are considered. Directional backs and paired faces also need an orientation check. Arrange multiple tiles as they will appear in use so an incorrect rotation does not pass because one tile was photographed upright.
Keep the face ID with the result. If a correction is needed, the supplier should be able to identify the artwork element, affected tool path, and production range rather than searching through a full folder of anonymous images.
Test legibility at actual size
Legibility is a use question, not only a close-up question. Review the complete symbol at the real tile size and at the viewing distance expected during play or sorting. Similar faces should remain distinguishable without requiring the user to study a macro photograph. Small text, thin lines, crowded marks, and low-contrast fills deserve early challenge testing.
Use a controlled sample set that includes the hardest approved faces. Ask reviewers to identify or group them without relying on a design file. Record the lighting, viewing distance, orientation, and whether the test used clean or handled tiles. The purpose is not to create a universal eyesight rule; it is to expose whether the approved design remains usable under the project's normal conditions.
If the mark is decorative rather than functional, the buyer still needs an appearance standard. Define what “readable,” “balanced,” or “clean” means with examples. A buyer may accept a subtle tonal difference but reject a missing line, a filled gap, or a repeated face that visibly differs from the control sample.
Use a sampling plan that represents the lot
Sampling should follow the agreed lot definition and inspection rule. ASQ describes ANSI/ASQ Z1.4 and Z1.9 as sampling plan standards with normal, tightened, and reduced plans. The applicable standard, edition, inspection level, lot quantity, and switching rules should be named in the inspection agreement rather than assumed after production.
“It provides tightened, normal, and reduced plans.”
ISO 2859-1:2026 provides the official ISO reference for sampling schemes indexed by AQL for lot-by-lot inspection. It does not replace the product specification. A buyer should confirm which edition and contractual rule applies, then define how engraving defects are classified and counted.
“Sampling schemes indexed by acceptance quality limit (AQL) for lot-by-lot inspection.”
Draw samples across cartons, production positions, colorways, and revisions when those sources differ. Do not take every piece from the easiest tray. For critical customer-specific artwork, a buyer may require full verification or a separate control even when other cosmetic features are sampled.
| Inspection stage | Focus | Record for release |
|---|---|---|
| Artwork review | Face identity, process assignment, orientation, language, and safe area | Revision, face ID, proof approval, and open questions |
| First sample | Depth, edge definition, fill, placement, and actual-size legibility | Sample photos, measurements, lighting, and decision |
| In-process check | Tool or setup changes, repeated-face drift, colorway differences | Production position, time, operator or line, and disposition |
| Final lot check | Representative variation, defect classes, care condition, and pack-out contact | Lot range, sample references, defect log, and release status |
| Reinspection | Whether the lot was sorted, reworked, replaced, or resampled | Original finding, corrective action, new sample basis, and approval |
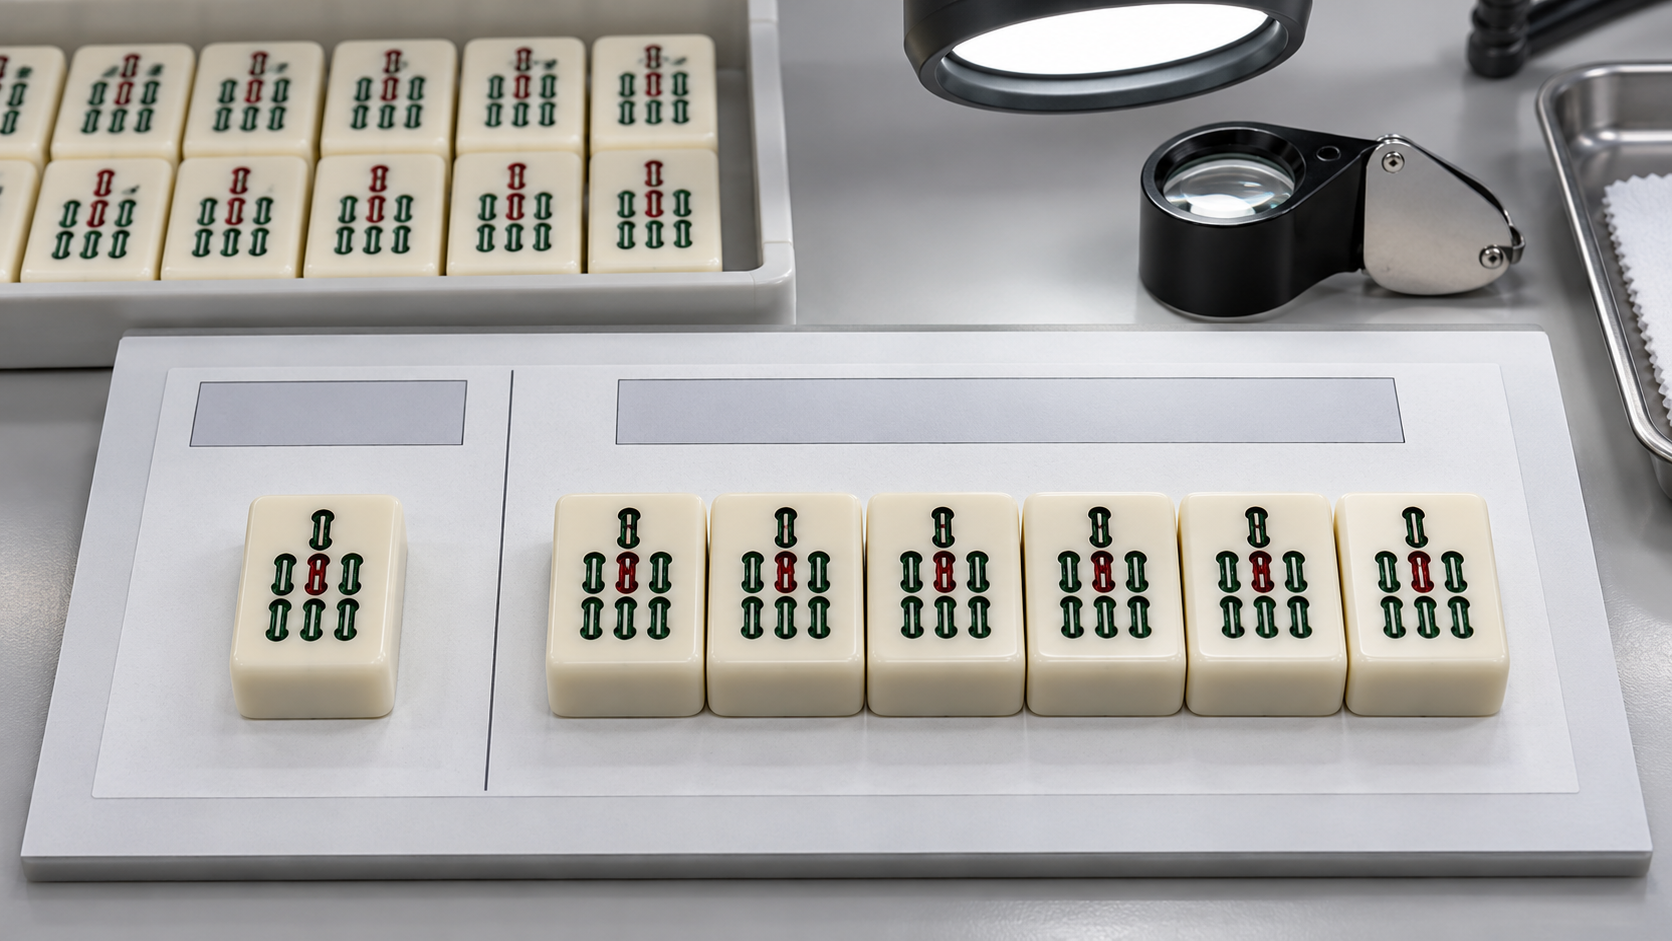
Classify defects so the decision is repeatable
Defect classes should describe the buyer's risk, not simply the inspector's preference. A wrong character, missing required mark, unreadable face, or dangerous sharp edge may need a different decision from a small cosmetic variation. Define critical, major, and minor examples before the lot is checked, and state whether one tile can carry more than one defect.
Write each finding with the face ID, sample or carton reference, location, observed condition, photo, class, quantity, and disposition. Avoid vague phrases such as “engraving not good.” A useful entry says what changed: “filled recess extends beyond the approved outline on repeated face X,” or “two samples show a merged gap that changes the symbol at normal viewing distance.”
For a failed lot, preserve the original record. Do not replace failed photos with corrected samples. If sorting, rework, or a deviation is approved, create a new record linked to the original lot and state whether the same acceptance rule applies.
Connect artwork, inspection, and use conditions
Engraving decisions should connect to the rest of the product. The Mahjong artwork preparation guide can help teams control face schedules, vector paths, proof gates, and revision handoff. The Mahjong tile quality inspection checklist covers the broader material, dimension, decoration, completeness, and packaging controls around the mark.
Also review the Mahjong tile size guide when a mark depends on the available face area, edge radius, rack fit, or proportion. A design that passes on a large tile may not preserve the same gaps or legibility after the format changes.
Cleaning and handling should match the intended product. A club set, a retail gift set, and a promotional set may have different exposure to repeated shuffling, abrasion, moisture, or storage. Ask for a practical care instruction based on the approved material and finish. Do not promise an untested service life or assume that an engraved recess will behave the same after filling and polishing.
Build an approval packet before production release
A complete packet makes later questions answerable. Include the released artwork and face schedule, the physical control sample, the challenge-face list, the inspection method, defect examples, fill references, colorway approvals, and the lot decision. Keep the packet tied to a revision number so an old sample is not mistaken for the current standard.
- Released face schedule with process, orientation, quantity, and revision.
- Actual-size proof showing line, gap, edge, safe area, and filled details.
- Physical sample made with the proposed material, finish, and fill process.
- Challenge faces covering dense marks, small details, tight gaps, and broad fills.
- Inspection setup covering light, viewing distance, tools, and cleaning condition.
- Defect classes with photographs and a named release authority.
- Sampling basis, lot definition, standard, edition, and acceptance rule.
- Corrective-action and reinspection process for failed or conditional lots.
This packet also improves the RFQ. A supplier can quote the actual process and sample scope instead of guessing from a decorative image. It gives the buyer a clearer basis for comparing a laser, rotary, printed, molded, or mixed treatment without treating one method as universally superior.
FAQ
What should an engraving inspection cover?
They are usually defined around correct artwork, placement, recess depth, edge definition, fill coverage, contrast, legibility, surface condition, and consistency across repeated faces and production colorways.
Is deeper engraving always better?
No. Depth must suit the material, mark size, fill process, handling, cleaning, and approved appearance. Excess depth can create rough edges, residue retention, or an uncomfortable surface.
How should engraving depth be inspected?
Use an identified or calibrated method when a dimensional limit is required, and record the measurement point and sample ID. When the rule is visual, use an approved physical sample and clear acceptable and unacceptable examples.
What does a clean engraved edge look like?
It preserves the approved line and gap without burrs, feathering, merged features, chips, or overflow. The inspection should focus first on the narrowest gaps and tightest corners in the face schedule.
How do I check colored fill in a recess?
Compare the filled tile with the approved color and physical control sample under consistent light. Check coverage, voids, overflow, shade variation, residue, and whether the fill changes the intended shape of the mark.
Should engraving be checked at normal playing distance?
Yes. Close-up inspection reveals process detail, but normal viewing confirms whether users can distinguish the face quickly. Record the lighting, distance, orientation, and sample condition used for the check.
How many engraved faces should be sampled?
Start with representative challenge faces, including the smallest, densest, narrowest, and largest filled features. The full face schedule still needs approval, and higher-risk customer-specific marks may need full verification.
Can one engraving setting work for multiple tile colors?
Do not assume it. Base color, surface finish, construction, and fill can change contrast and edge behavior. Approve each production colorway that materially changes the finished result.
How should an engraving defect be documented?
Record the face ID, sample or carton reference, location, observed condition, defect class, quantity, photograph, and disposition. Use observable terms such as missing segment, merged gap, overflow, wrong orientation, or rough edge.
What should happen after a failed engraving inspection?
Preserve the original evidence, contain the affected quantity, identify the cause, and agree on sorting, rework, replacement, resampling, or deviation approval. A second inspection should state its new lot and sample basis.
Turn the mark into a controlled product feature
Good mahjong engraving quality requirements connect the artwork file to a physical control sample, a representative inspection, a repeatable defect rule, and the way the finished set will be used. They prevent a supplier and buyer from approving different ideas of “clean,” “deep,” or “readable.”
For a new set or a revision, review ABC Mahjong's custom Mahjong service, confirm the broader company and manufacturing information, and send the face schedule through the project inquiry page. Include the tile construction, colorways, artwork revision, fill treatment, challenge faces, target quantity, and inspection evidence needed for release.
The goal is not to make every engraved tile identical by an undefined machine setting. It is to make every accepted tile conform to a visible, documented, and usable result that the buyer can trace back to the approved brief.